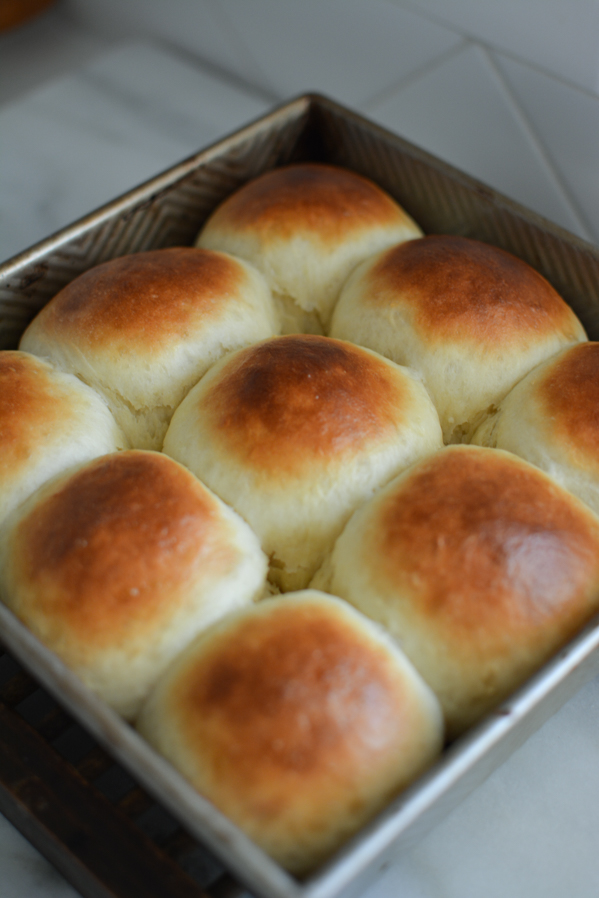
Fluffy Dinner Rolls
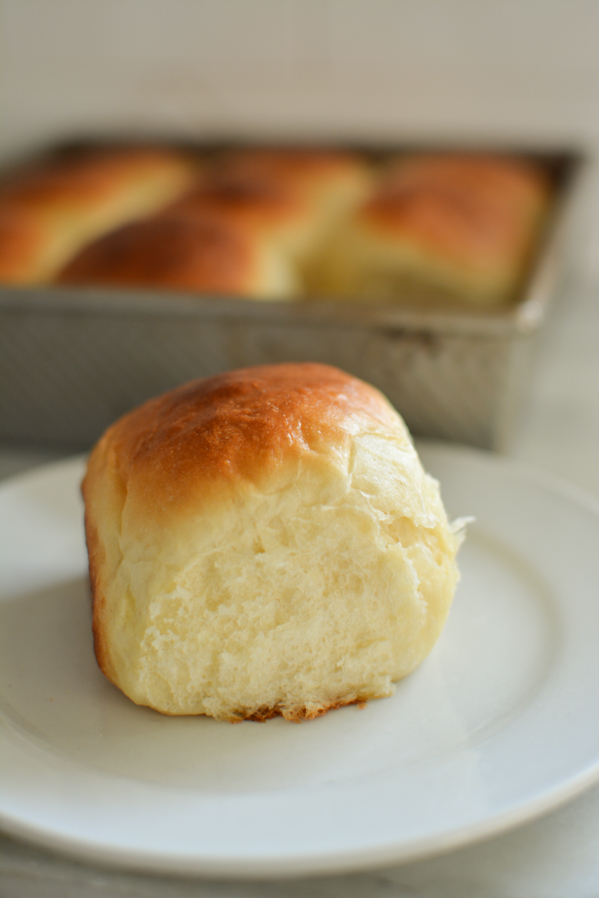
I thought about calling these “Soft and Fluffy Dinner Rolls”, but I was worried that would be too much. I think “Fluffy Dinner Rolls” works, don’t you? These rolls are fluffy. And they are soft. Really soft. Like, even the outsides are completely soft (no crunchy crusted rolls here). And they’re slightly springy, and have a little heft to them. If you’ve ever had the Hawaiian Rolls from the store, these are very similar in texture! They are slightly sweet, and have a delicious developed yeasted flavor that leaves you wanting more. Plus! They’re pretty easy to make! You could have these babies on the table, start to finish in a little over 2 hours. I’m all about making things easy for you. (See: 1-hour Vegan Cinnamon Rolls, 2-Hour No Knead Bread…)
I can’t believe I didn’t have a roll recipe on my site until now. Last week my sister was asking me some questions about a roll recipe she was trying, and I realized I didn’t have one of my own! So I set out to develop my own recipe. I started from my cinnamon roll dough base, and reduced the sugar, added more fat, and 3 recipe trials later, I am happy to report that I have a good roll recipe to recommend! Mine!
And I am posting it just in the knick of time, a few days before THANKSGIVING! I can’t believe it’s already here. Are you ready? This year we’re headed to my mother-in-law’s for T-Day and we are bringing 2 pies, stuffing, and rolls! Everyone can always count on me to bring my Black-Bottom Pumpkin Pie (you’ve got to see it to believe it), and I’m thinking of trying something different than apple this time..we’ll see! Paul is going to try his hand at stuffing, and since I was already working on a roll recipe I volunteered to bring rolls too. *whew*! What are you making?
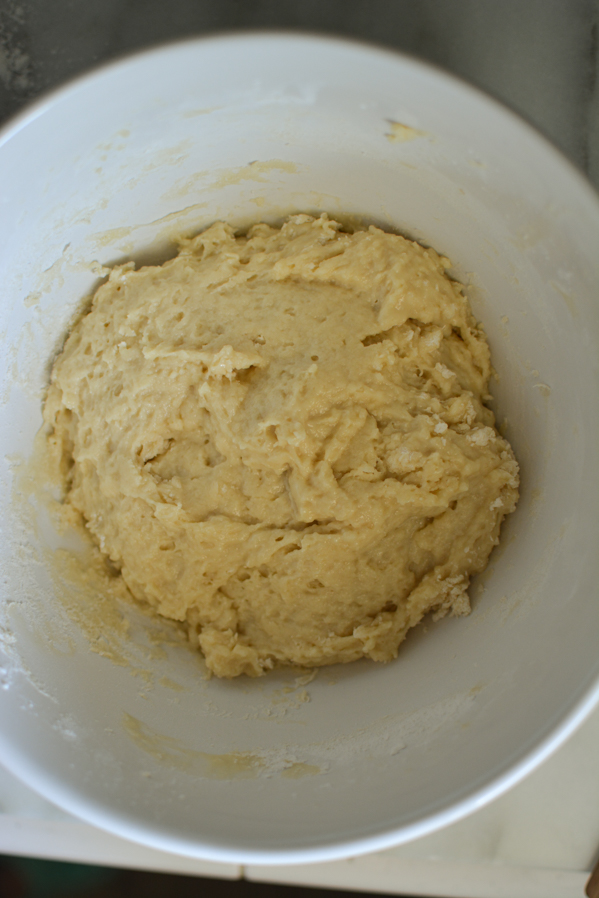
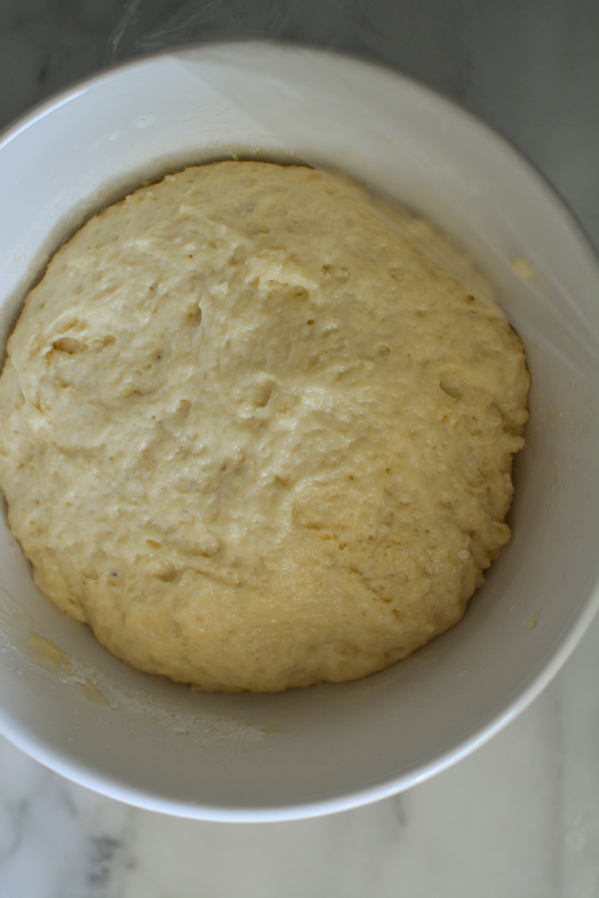
Let’s discuss this recipe. Let me talk you through it. First you warm up some milk and butter, allowing the butter to melt and the milk to warm up. As soon as the butter’s melted, pour it into a bowl and mix in the sugar. This allows the sugar to dissolve, and you want the mixture to cool a minute or two before you add the yeast. You want to wake up the yeast with a nice, sweet, milk bath. Too hot, and you’ll kill the yeast. I usually just test the warmth with my finger, and it should feel like a warm bath, no warmer. Around 100-110°F. After another minute we add the egg, and then the flour and salt. The dough will be WET and sticky. Don’t worry! Cover the bowl and stick it in a warm place to rise for 1 hour and double in size.
**pro tip! When I am melting the butter on the stove, I will turn my oven on to 200°F. Once my butter is melted, I turn the oven OFF, then when it’s time to let my dough rise I put it in the slightly warm, not hot, OFF oven to rise. This helps it rise faster!
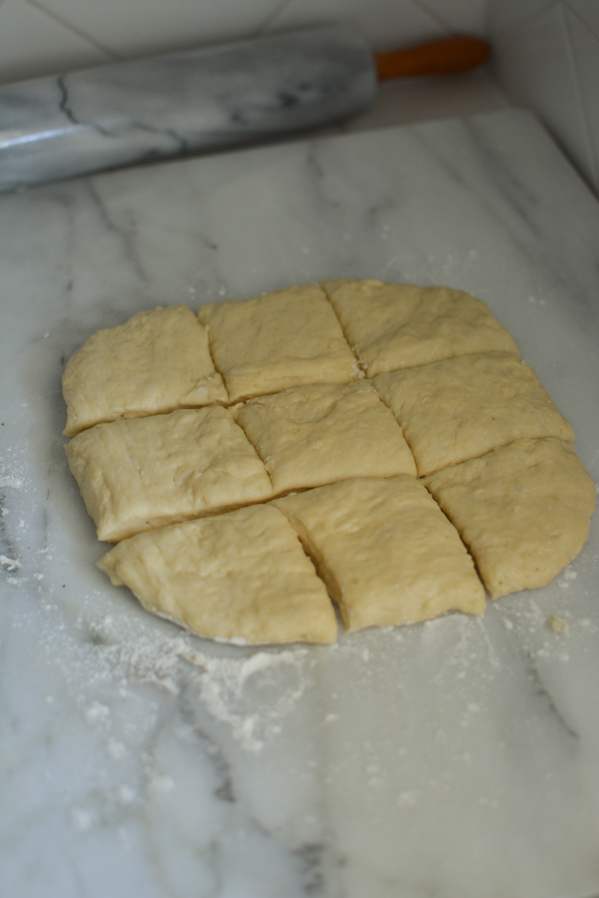
After the dough has risen, don’t punch it. Be gentle. You will deflate it some when you pat/roll it out into a square but you don’t need to be violent with your sweet innocent dough. Make sure to cut the dough into pieces, don’t tear it with your hands. This will break the gluten strands!
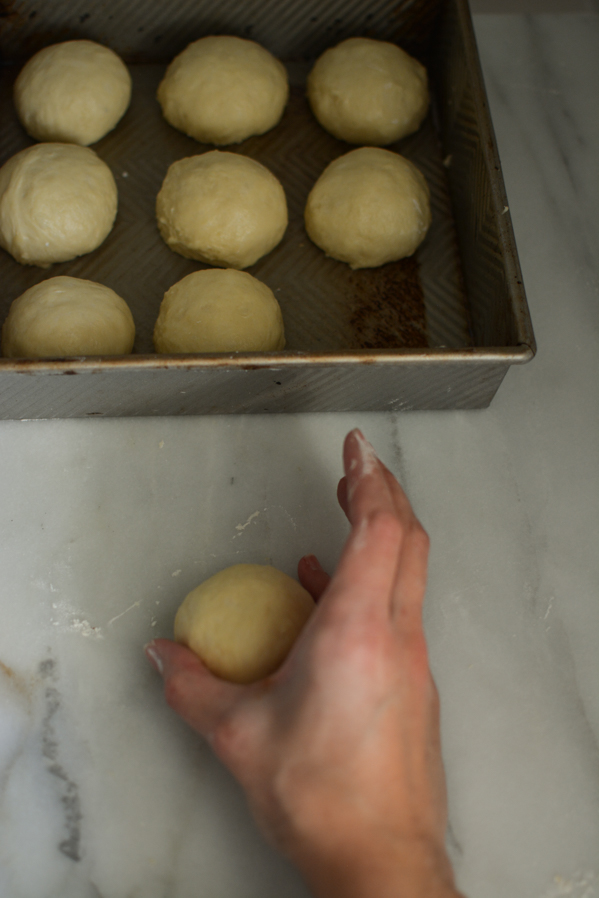
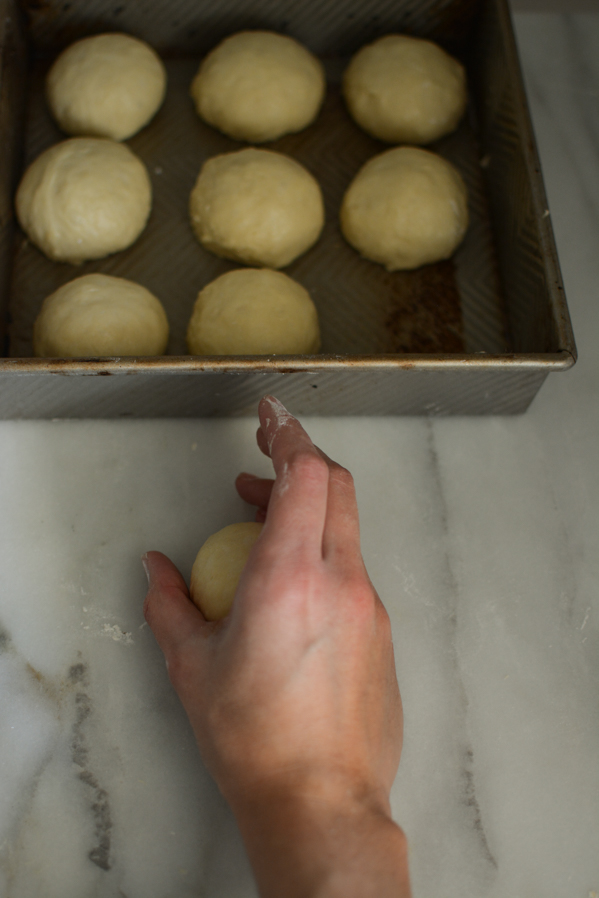
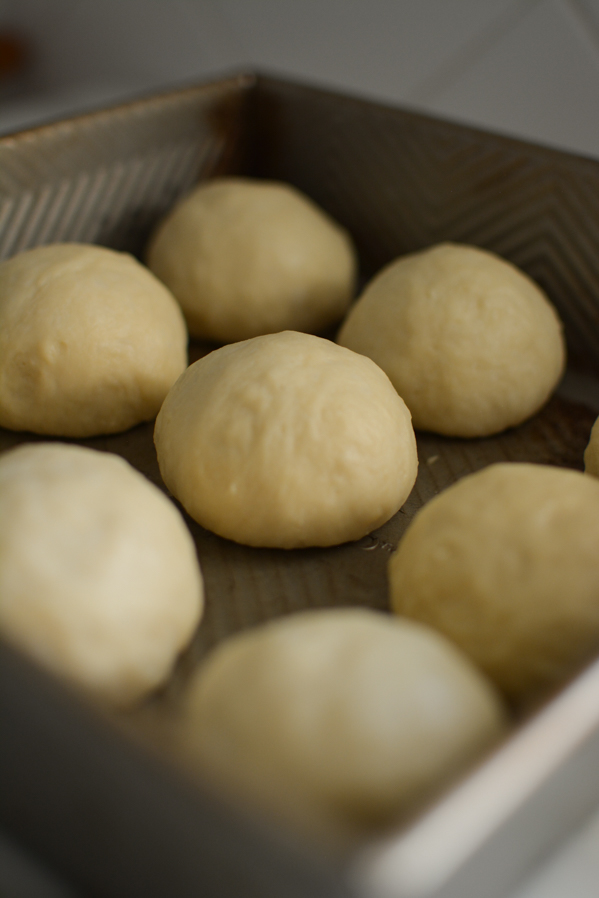
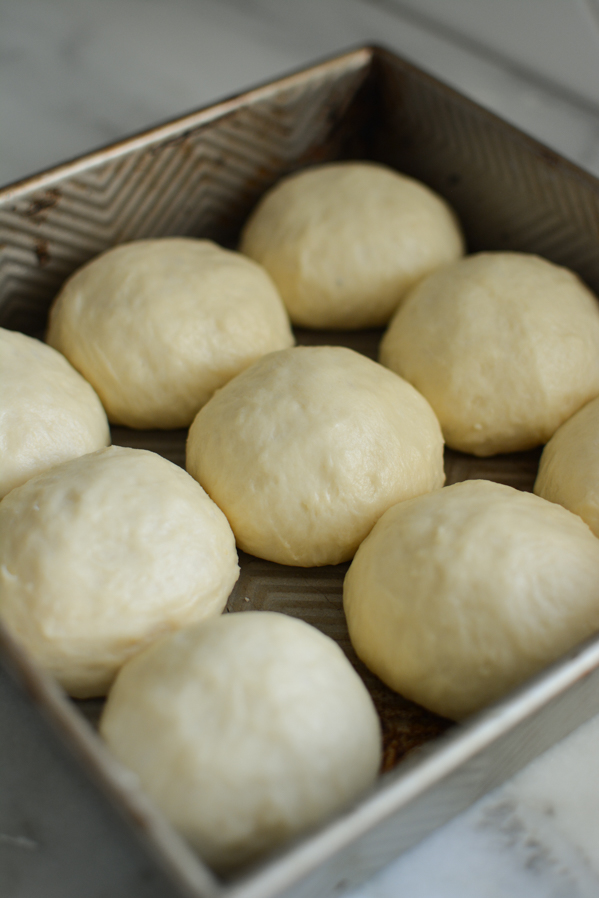
It might feel weird at first when you form the dough balls but you get the hang of it. You use the outside of your pinky and palm, and your thumb, all pressed down to the counter as you swirl your hand around the dough ball. You’re not putting direct pressure on the dough, more around and under it as you slide it around. This helps create tension and a smooth surface of the rolls. I have found that this is easiest on a clean surface free of flour, and slightly oiled hands. The rolls then rise for another 20-30 minutes until they’ve puffed up and grown in size. Then you’re only 15 minutes away from perfect rolls!
I’ve posted some video clips of me making these rolls on my Instagram Highlights, if you want to watch them, click here. Enjoy!
- 1/2 cup milk
- 1/4 cup butter
- 1/4 cup sugar
- 1 Tablespoon yeast
- 1 large egg
- 2 1/2 cups all-purpose flour
- 1 1/2 teaspoon salt


